
If there’s one thing I’ve learned through years of projects, it’s that details matter. Details are what separate good from good enough, finished product from concept, and tools that get used from tools that get forgotten about. When I needed a programmable OBD-II scanner for reverse engineering CAN bus messages on cars, I knew I wanted to make a device where every detail was thought through.
Electronics
The first CAN bus development board I tried using was an ATmega32U4, commonly found in the Arduino Leonardo. It could handle light loads such as broadcasting pre-recorded CAN messages but had a tendency to fall behind and drop messages when used as a serial can interface. It was likely possible to solve this issue with some clever code optimization but I chose to instead replace the processor with an RP2040 from a Raspberry Pi Pico. The higher clock speed and ARM instruction set meant it could execute instructions significantly faster and the dual core architecture meant I could dedicate one core to buffering CAN messages to ensure none get dropped.
Housing
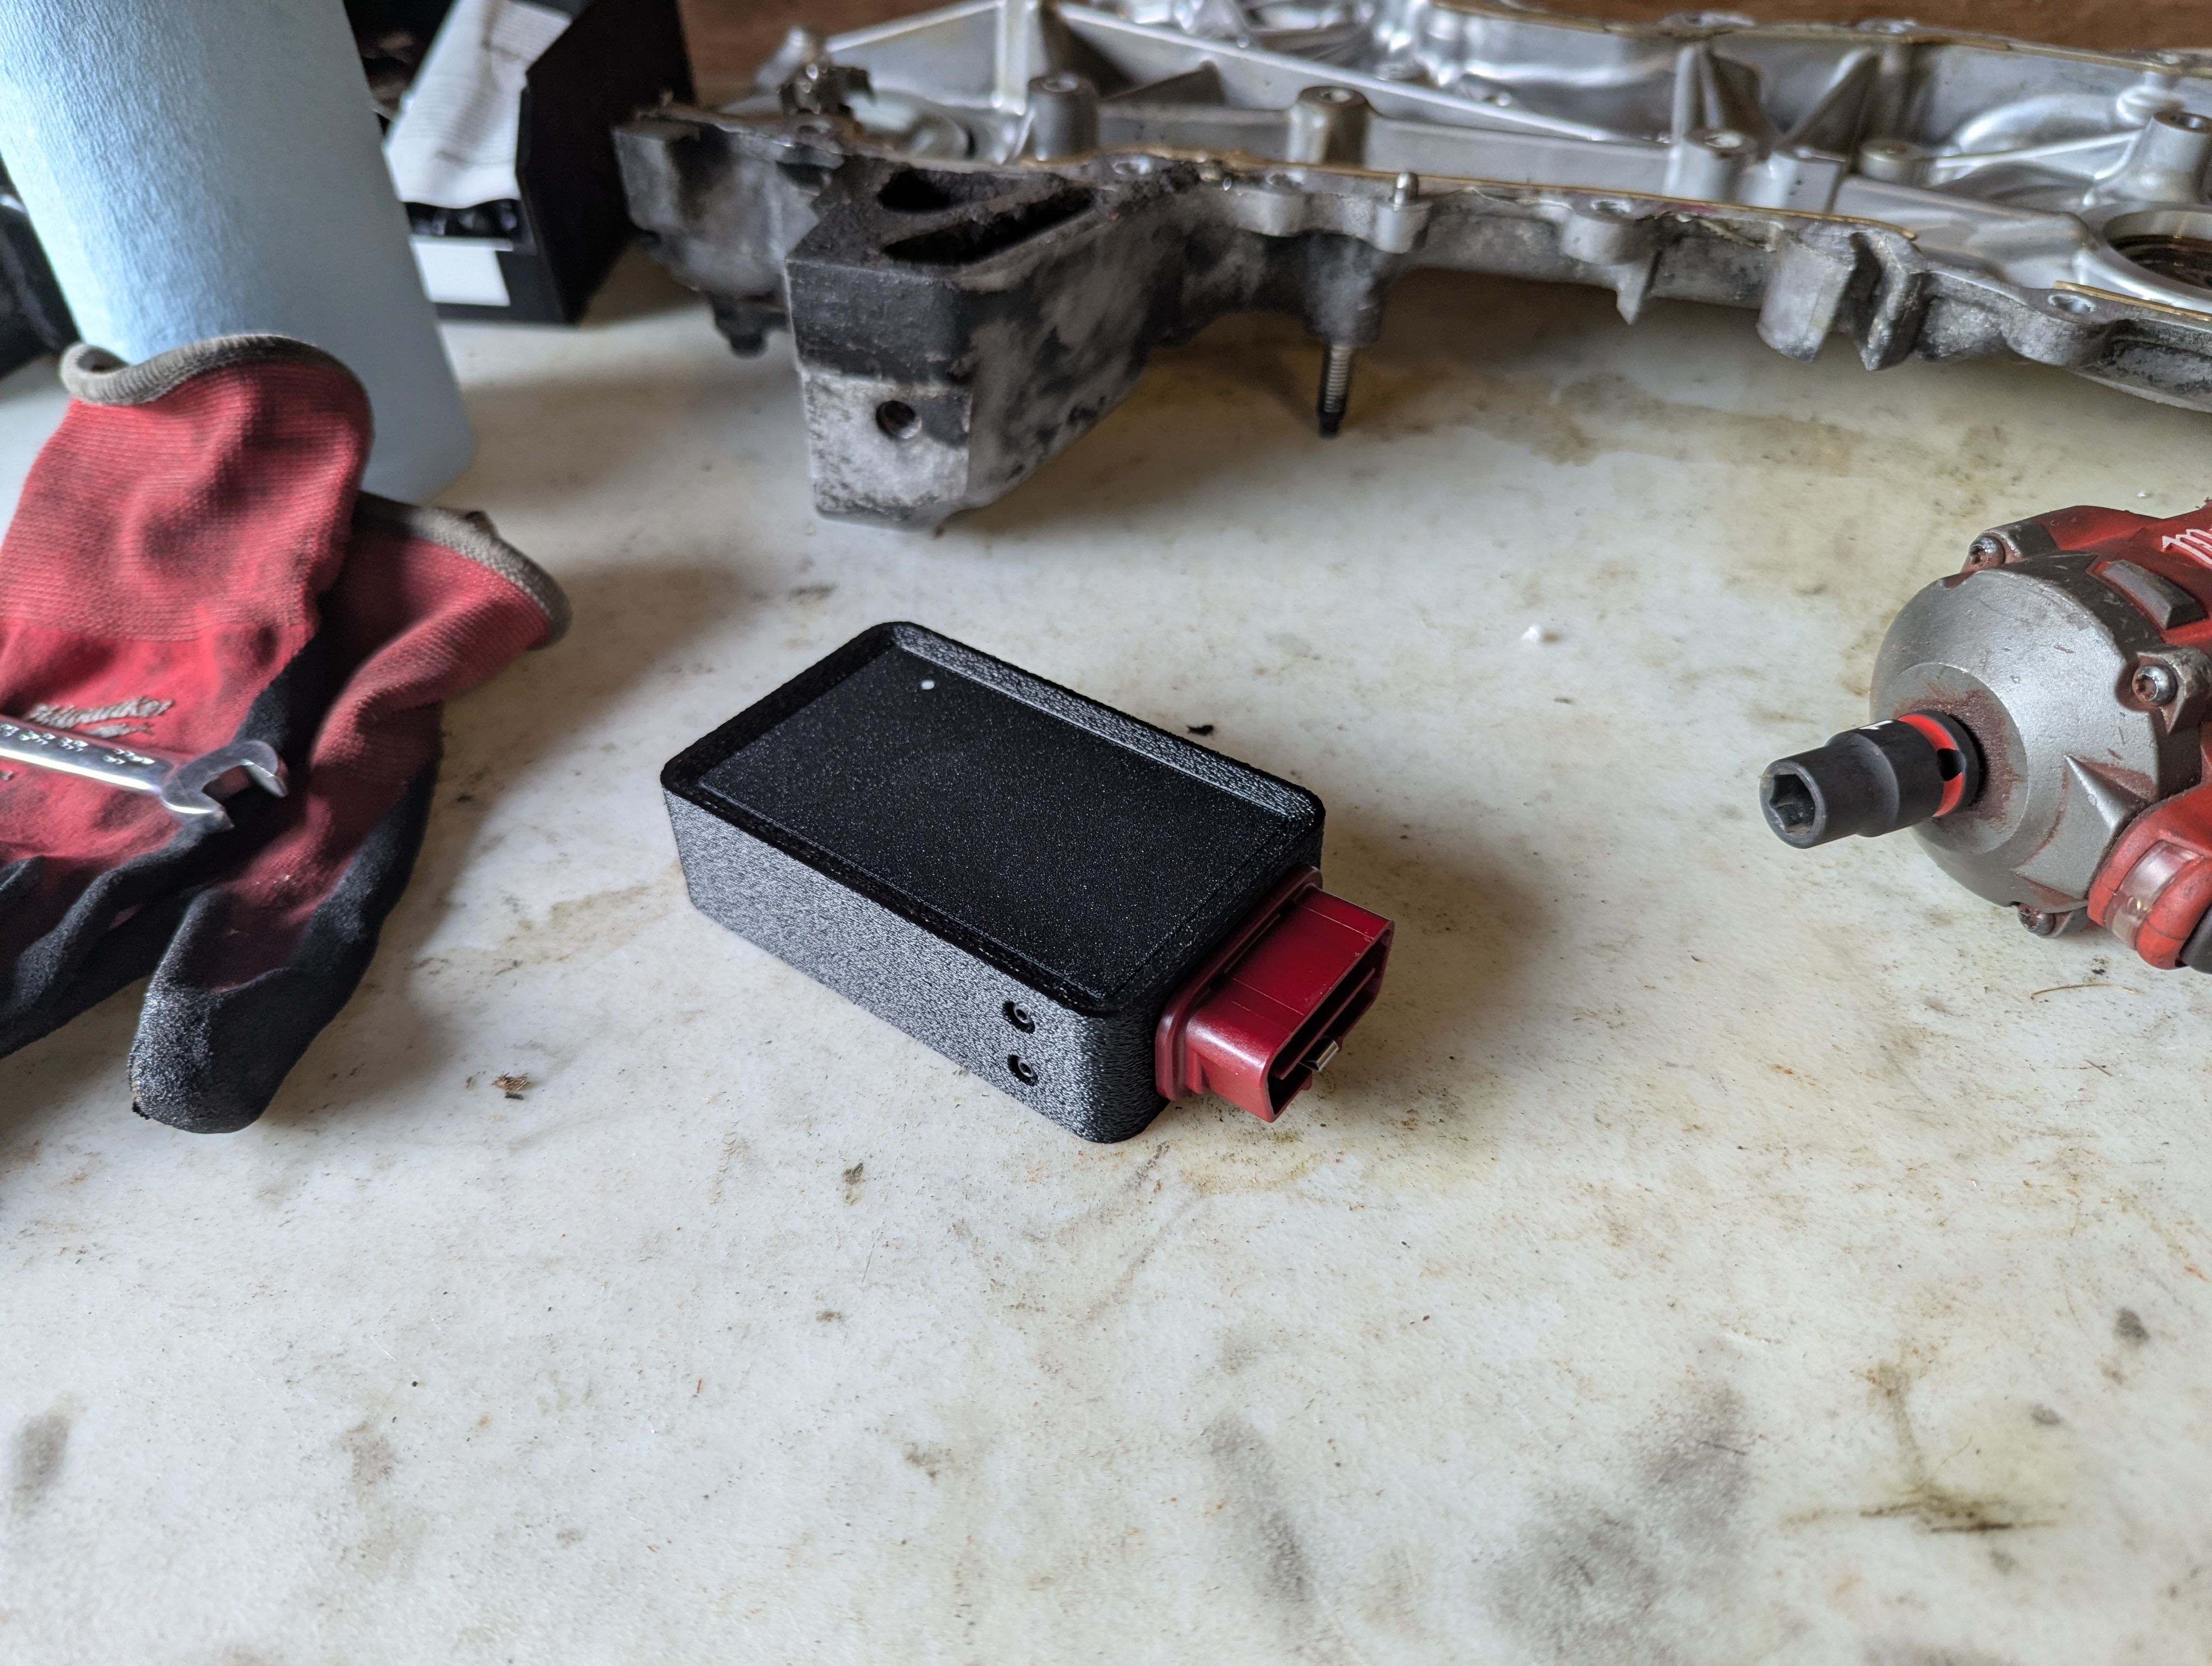
I like 3D printing. It’s a quick and easy way to turn a design into a physical object. I don’t like 3D-printed objects though. The layer lines and surface artifacts create the impression of a low quality product. To create a device that appeared to be well designed and not just another cheap 3D printed piece of plastic, I employed three techniques to disguise the telltale signs it was 3D printed.
The first technique I used was to texture the surface. By marking areas in CAD, I could add texture to the outer surfaces while leaving the areas where other components attach unaffected. Second, I made the top and bottom faces separate parts. This allowed me to print them face-down, capturing the even texture of the print bed on their surfaces. Third, I recessed the top and bottom faces. The depressed surfaces added nice visual detail, made the scanner easier to hold onto, and created a concave edge where I could hide the seams.
Interfaces
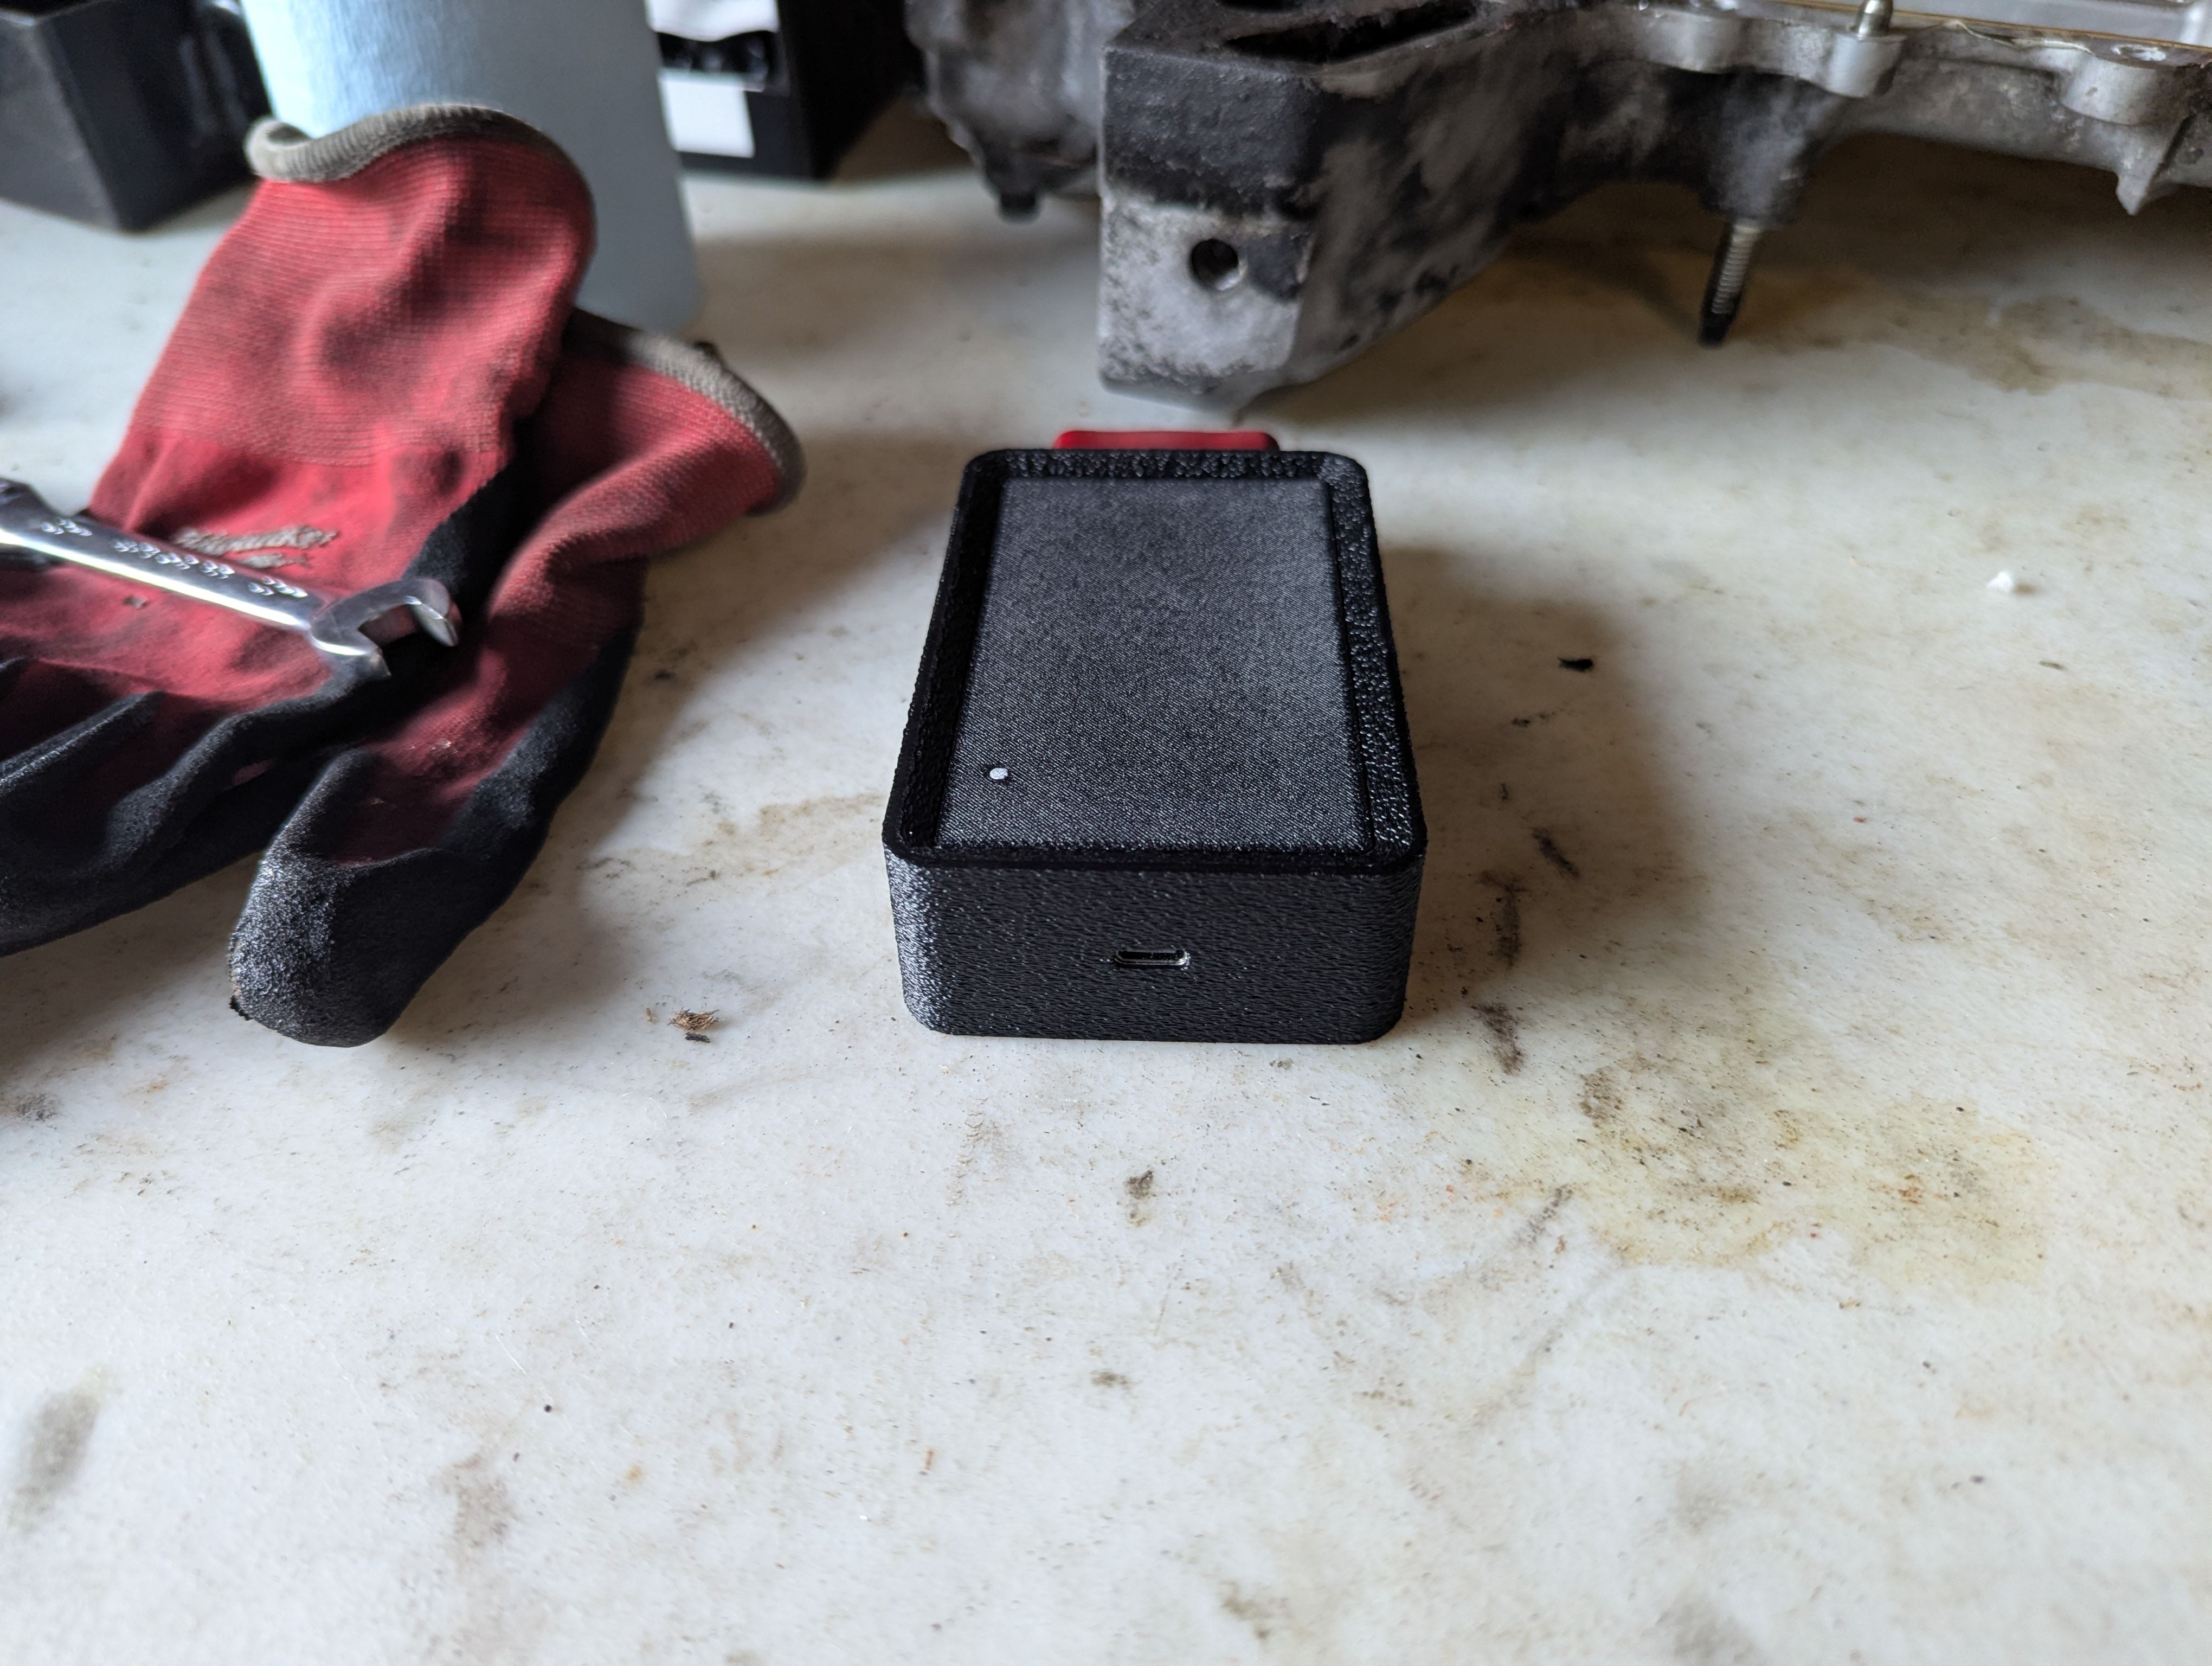
The scanner needed to be able to interface with both a car and a computer. For the car side, I choose a snap-fit OBD-II plug from Sumitomo. The snap fit meant I could hide the attachment points internally and wouldn’t need additional fasteners. For the computer interface, the CAN bus development boards already had a Micro USB port. I made an adapter to USB-C so I could relocate the port to the rear of the housing and not need a dedicated Micro USB cable. Thanks to some careful housing geometry, the port is clamped between the side and one face of the housing, keeping the port snugly in place without needing extra parts or fasteners.